Wednesday, February 29, 2012

Easy Jean Pocket Pillows for Dolls

My daughters love having lots of pillows to use with their dolls.  They love to change the pillows around and use them for extra seating.  One of the easiest ways I have come up with to make a doll pillow "on the fly" is by using pockets from an old (but clean) pair of jeans.
Pillow on the left is the front.  Pillow on the right is the back.

Items Needed:
-Old pair of jeans
-Scissors
-Pillow stuffing 
-Needle
-Thread
-Pins

Getting to Work:
Step 1:  Cut the back pockets and the piece of jean they are sewn to out around the seams.  Make sure to not separate the pockets from the inside piece of jean.  The sides and bottom should remain sewn at the existing seams.
Step 2:  Trim any edges as necessary.
Step 3:  Stuff with pillow stuffing.
Step 4:  Pin the top of the pockets closed and the use the needle and thread to hand sew the top of the pockets closed.  This create the pillows.

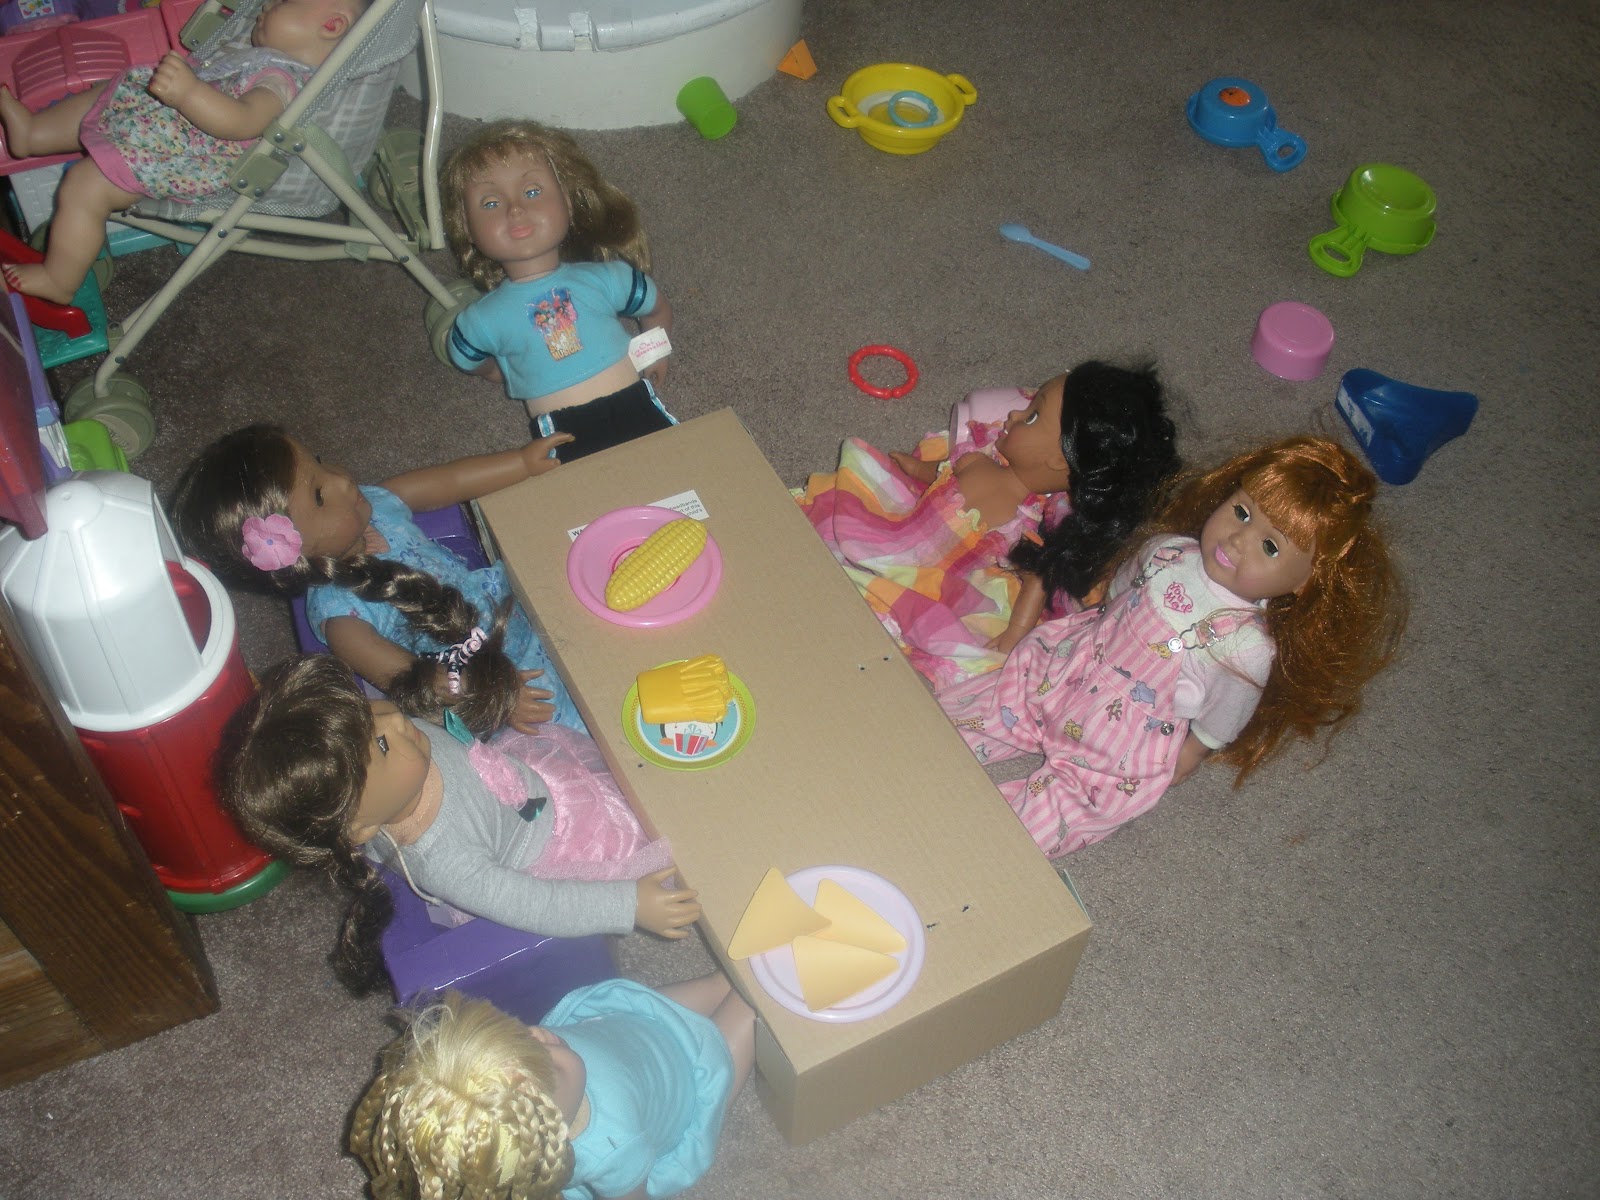
Here are a couple pictures of the pillows "in action."

Mia (on the top bunk) is resting on her jean pillow.  She had a long ice skating practice today!  Ruthie (on the bottom) is just hanging out.  She likes how soft her jean pillow is.
Here is a close up of Mia...She was so tired that she even kept her skates on. :)
Here is a close up of Ruthie holding her jean pillow.


Tuesday, February 28, 2012

More Pictures From My Sister Molly

My sister Molly is nine years old.  She has two American Girl dolls, Molly and Kirsten and a doll that came from a craft store.  I am not sure of that doll's name because my sister keeps changing it. :)  My sister is one of my avid readers of my blog!  She loves to make furniture and doll items inspired by my blog.  In a previous post, I shared pictures of other items she has made.  Click HERE to see the older post about my sister, Molly.  I wanted to share with you a couple pictures that she sent me yesterday (keep in mind that she took the pictures with her phone.)
This is my sister Molly with her AG Molly doll and the wardrobe she made (from the previous post.)
The stove and oven that she made for her dolls.  I love the different pints of duck tape that she used.

The inside of the oven.
Kirsten cooking her "Famous Alphabet Noodle Soup."
Molly's dolls enjoying Kirsten's "Famous Alphabet Noodle Soup" at the table she made.  I made the couch that Kirsten and her friend are sitting on, and my sister made the couch that Molly is sitting on.
I hope you enjoyed the pictures!  Thank you, Molly, for sharing!

Please feel free to leave comments!

Monday, February 27, 2012

What kind of doll related crafts or items would you like to see on my blog?

I have so many ideas that are constantly running through my head.  In addition, I also have my three daughters' daily requests for new items for their dolls.  However, I would really like to know what the readers of my blog would like to see.  Are you interested in more How To Make Furniture posts, doll crafts, accessories, reviews, or easy clothing posts?  Would you like to see doll story posts or maybe reader photos?  Please leave me a comment telling me what type of post you enjoy reading on my blog and/or what type of post you would like to see in the future.  I would love as much feedback as possible!  If you would rather email me, please send an email to leasekristis@yahoo.com and put READER COMMENTS in the subject line.
Thank you! Kristi

Friday, February 24, 2012

3000+ Page Views Giveaway!

My blog has reached over 3000 page views!  I am so thankful for my followers and everyone who checks out my blog!  I have decided to do a Giveaway.  I will be giving away a Couch made by me to one lucky winner.  The couch fits 14-18 inch dolls.  I will be able to customize the couch based on the winners color and print choices.  Please read below the pictures on how to enter.
The couch fits two dolls.
This is a purple version.


The couches can also be used as seats with a large table.

HOW TO ENTER:
1.  Take a look at my blog posts and leave a comment here telling me which piece of doll furniture or doll item you like. 
2. Get additional entries by spreading the word about this Giveaway.  You will get one additional entry for each of the following.  Please say in your comment which way you shared the Giveaway.
-Follow my blog @http://misskristiscraftteachingdollblog.blogspot.com
-Like my Facebook page @http://www.facebook.com/pages/Miss-Kristis-Blog/173037682801582  -Feel free to leave me a message or just say "Hello."
-Follow me on Pinterest @http://pinterest.com/krissi8782/
-Share this Giveaway on your own blog, website or Facebook page.

RULES:
-Leave your comment no later than midnight on March 4, 2012
-If you are under 18 years old, please get your parent's permission before entering.  If you are selected as the winner, I will ask to be emailed by a parent or guardian before sending your prize.
-Make sure to have an updated email address.  I will announce the winner on this blog and my Blog's Facebook page. 
-The winner will be selected at random.

Thank you again for reading my blog!  Good Luck!

Monster High Duck Tape Clothes

Doll Diaries recently had a post about using duck (duct) tape to make clothing for Monster High Dolls.  Click HERE to see the post.  I decided that since my daughters have recently become fans of this brand of dolls, I would try it out.


This is my daughter Gwenie's Monster High Doll.  I made the shirt and skirt she is wearing out of duck tape (the red shorts came with one of her outfits when we bought her.) 
I do make doll clothing out of duck tape, but this is not the method I normally use. I tried very hard to follow the directions I found in the Doll Diaries post.   I would have to say that it would not as easy as the video in the post made it seem.  It was hard to maneuver the skirt onto the doll after my first attempt at making the skirt by following the directions.  I ended up adding in more strips of duck tape to make the skirt a little bigger so that it would fit over the dolls thighs and bottom.  The shirt, however, was pretty easy to make.  I will make another attempt to make these types of clothing this weekend for my older two daughters' Monster High Dolls.

I am still not totally sure about these dolls. My daughters really like them so I will do my best to grow to like them as well.  Please feel free to let me know what you think about these dolls.

Thursday, February 23, 2012

Over 3000 Page Views-Time For A Giveaway

So I was thinking about doing another Giveaway when I hit over 3000 page views.  I just checked in today and saw that I did!  I have to think about what I want this giveaway to be and the rules for entering though a little bit more.  I will post the official Giveaway Information by tomorrow.

Tuesday, February 21, 2012

BFC Ink Aleisha modeling a few "new" outfits

I decided to make Aleisha a pair of no sew sweat pants from one of my older daughter's shirts she outgrew (size 5.)
Here is Aleisha in her now sew pants, a skirt made from a toddler fleece sleeve, and a Webkinz vest.
Here is Aleisha wearing the duck tape Kimono style top I made with the no sew pants.
And here is Aleisha with Gwenie's Hearts4Hearts doll "Veronica" (aka Consuelo).  I think they look like they could be sisters.  I just could not resist putting them in a picture together!


No Sew PJ Top for Hearts4Hearts Girl


This is a follow up post to: No Sew PJ Pants for Hearts4Hearts Girls.  I wanted to make a simple top to go with the PJ Pants using what I had left of the toddler fleece.  I had the hood with a little bit on the shirt remaining attached and another sleeve.  After playing around with the pieces for a while, I decided to cut the hood off of the remaining piece of the shirt and drape the piece of shirt around "Veronica."  It actually worked better than expected.  I was able to make a sort of "wrap-shirt."  I tied a not in the back and put a small dot of hot glue on the left inside of the two pieces to keep the shirt together.
The back is not pretty but I like the front and it serves it's purpose for my daughter.

Above, "Veronica" is posing with B.F.C. Ink Aleisha who is wearing a no sew skirt from the same toddler fleece.  I think they look like sisters!

Sunday, February 19, 2012

No Sew PJ Pannts for Hearts4Hearts Girl Doll

"Veronica" (aka Consuelo) is ready for bed in her new PJ pants.  As you can tell by her hair, she has had a long day of playing with my two year old, Gwenie.

No Sew PJ Pants For Hearts4Hearts Girl Doll:

Items Needed: 
-Sleeve from a toddler size 12-18months fleece shirt.
-Pen
-Scissors
-Hot glue gun

Getting to Work:
Step 1:  Cut the sleeve off of the fleece shirt at the shoulder seam.  Make sure to leave the wrist band in place because this will be the waist band for the pants.
Step 2:  Turn the sleeve inside out and have the doll "try on the sleeve" and trim the bottom of the sleeve to the right length for the doll.
Step 3:  While the doll is still wearing the sleeve, make a little mark to show wear to stop cutting in the next step (when the "inseam should stop.")
Step 4:  Take the sleeve off the doll.  Cut the sleeve down the middle near the existing seam to create two pants legs, stopping at the marks made in Step 3. 
Step 5:  Use hot glue to glue the inside of each pant leg together to create the insides seams of each leg of the pants.
Step 6:  Turn right side out and dress your doll in her new PJ Pants.


Close up of the PJ Pants.

How to Make a Large Doll Table

Gwenie getting ready to set the table for the dolls: Aleisha, Molly, Pocahontas, and Veronica.

How To Make a Large Doll Table:

Items Needed:   
-inside of a large doll box (mine was from a Madame Alexander Doll box) or a piece of cardboard that is 20"long x 8 1/2" across for the top and two pieces of cardboard that are 8 1/2" across x 6" tall for the sides.
-additional pieces of cardboard cut to fit the inside of the table for support
-packaging tape
-duck tape
-hot glue gun

Getting to work:
Step 1:  (If using the inside of a doll box, skip to Step 2.)  Cut pieces of cardboard to the size of the dimensions listed above.  Attach side pieces of table to the inside of the top of the table with hot glue.  Then place packaging tape over the areas attached to the top of the box.  It is optional to cut the middle out of the side pieces to create table legs.  (One side of my table has separate legs and the other side is all one piece.)

Step 2:  Cut cardboard to fit the inside pieces of the table (tops and sides or legs.)  Hot glue them in place.  This will help to make the table sturdier for play.

Step 3:  In addition, use packaging tape to secure the cardboard to the box and pieces together.

Step 4: Cover the entire table in duck tape of your choice of color and print.


Below are some pictures of the fun Gwenie and some of her dolls had with their new table!
The girls are waiting patiently to be served.  In the picture:  AG JLY "Molly," BFC Ink Aleisha, Disney Toddler Princess Pocahontas, and Hearts4Hearts "Veronica."  (They are sitting on couches that I made.)
Gwenie is asking the girls what they would like for "dinner."
Gwenie stops to say cheese to the camera....she wants to be a model (right now anyway.)
Gwenie gets back to work and serve the girls their drinks.
Pocahontas and Veronica are enjoying their "juice."
Aleisha and Molly are having tea.


Duck tape outfit for my BFC Ink Doll

Above is my B.F.C. Ink doll Aleisha.  She came wearing this bathing suit, shoes and purse as she is a summer themed doll.  I really am not in love with this outfit and have been wanting to make her something a little more covered up.

Right now, I do not have a sewing machine.  I do have a little hand stitcher, but I was not sure it would work for this project.  So, instead, I decided to try making an outfit out of duck tape.

This is the outfit I came up with in about 20 minutes today.  I first traced a outline of the top of the doll from the shoulders to her waist onto wax paper.  I cut out two of those pieces and then measured her side width and cut out side pieces.  I duck tape the front, back and side pieces together.  Then I added the top part of the shirt.  I cut two straps to fit over the doll's shoulders in a Kimono fashion.  I hot glued the straps to the inside of the front of the shirt and then covered the straps in duck tape.  Next, I hot glued the other end of the straps onto the inside of the back of the shirt (which I had previously cut down the center.)  I then put the shirt onto the doll and added velcro to the back pieces to close the shirt.  I had made the checkered skirt previously.

Not totally in love with this outfit, but at least she is covered up more.  I am hoping to purchase a sewing machine soon.  At that time, the first dolls on my list to make clothes for are this doll and Gwenie's Hearts4Hearts doll.

Friday, February 17, 2012

Great Doll Giveaway on Doll Diaries.com


Doll Diaries is hosting a Giveaway via Terri Lee Dolls for this sweet cutie pie of a doll.  Click on the word Giveaway for instructions on how to enter to win!  You can also visit my blog's Facebook page for the link or like Doll Diaries on Facebook and then view the link on how to enter this giveaway.

I love these cute little dolls.  They remind me of some of the dolls I used to play with when I was little that belonged to my Grandma.  Check out the Terri Lee Website as well for some cute doll related printables.


Doll Table Needed...Off to my craft room I go.

Dolls in the back(from left to right): A friend's "Jasmine" doll, Gwenie's Molly, and a friend's Kanani.  On the side:  Gwenie's "Abbi Doll."  In the front:  Gwenie's Springfield Olivia and Disney toddler princess Pocahontas.
We had some extra friends and dolls over at our house today since there was no school (for President's Day.)  My little Gwenie and her friends were all playing in the kitchen area.  I brought an extra table out so that all six kiddos had a place to sit for "dinner," but there still was not enough room for the dolls.

I quickly thought of the shelf in my craft room that holds material, boxes, etc. for projects I am planning.  I knew there was an inside of a doll box on it that I have been planning to turn into a table for the dolls.  So, I ran to my craft room and grabbed it (see above.)  Of course, the table has not yet been finished but it still worked perfectly for the dolls today.

The kiddos and the dolls enjoyed a solid forty-five minutes of fun playing in the kitchen area, serving each other and the dolls, and having conversations.  Gwenie's Bitty Babies even were invited a little later.  All together, a successful morning of fun and doll play! 
Side view.  You can see a Bitty waiting in her stroller to be seated.
This weekend, I plan to finish the table so that it can be a permanent part of our doll play.  Not sure yet what color(s) or design I will put on the table.  I will also reinforce in the some cardboard cut to fit on the inside of the table.  I will post pictures of the table after it is finished.

Our Doll Salon

Madame Alexander doll "Katie" is waiting to have her hair re-braided.
I have been wanting to do a specific post on our doll salon for a while, so here it is.  My middle daughter really wanted a doll salon for her last birthday (she turned 6.)  She loves to play salon and loves it even more when Mommy can do her dolls hair.

I thought about buying an American Girl brand doll hair station.  However, at the time we had just moved and one of those stations just did not fit budget wise.  Instead, I decided to make her a salon out of items that could be re-purposed and some hair related items for dolls that we already owned.  I did purchase a second doll salon chair from Target-Our Generation, duck tape, and some additional hair styling items.

The base/floor of the doll salon is made of two end tables and the "wall" behind is a piece of cardboard.  I covered those items in purple, pink, and zebra print duck tape to fit my daughter's style.  The hair station is a small three drawer container that I believe came from Target.  It holds hair ties, ribbon, wire hair brushes and picks, toothbrushes for smoothing the dolls' hair, and barrets.  I decorated it with glitter stickers that say "My Salon" and crazy glued a small mirror to the top.

Side view of the salon area.
I used a bath caddy (sitting under that tables) to store additional hair supplies, pretend makeup, my daughter's salon apron, and other hair styling accesories.  The railings on the table serve as a place to the doll wraps and aprons.  I also cut out some pictures from the American Girl catalog and attached them to the salon "wall" to use as a hair styling guide.

The doll salon is definitely one of the favorite play areas for my big girls and their friends.  It is also a space where they can try out different hair styles on each other and their dolls.  I often go downstairs to pick-up the girls' rooms as find many attempts on "new" hair styles on their dolls.


Some of the dolls sitting on the waiting bench.  As you can see, the middle doll (a TollyTot) "Paige," has already had one hair style attempted.  :)
Closer view of the girls in waiting for their hair appointments.
TollyTot "Isabella after her hair appointment at he salon.  She got lots of little braids.


Thursday, February 16, 2012

Photos from Allyson: My Blog's Frist Giveaway Winner!

Allyson H. won my blog's first giveaway.  She got to choose a piece of doll furniture featured as a "How To" on my blog as her prize.  Allyson choose the Oven/Stove for her prize.  I made her a new one with the same colors as the one shown in the post: How To Make a Kitchen for 18 inch Sized Dolls-Part 1

I am so glad that Allyson and her doll, Cecile, liked the oven.  They sent me three cute pictures of Cecile making croissants.  Thanks for sharing the picture Allyson!
Here is the beautiful Cecile with her new oven.

Cecile is baking croissants.

Yum!Yum! They are delicious!
I hope that Allyson and Cecile continue to enjoy their new oven!  I plan to do another giveaway when I reach 3,000 page views.  Stay tuned for the announcement!