Monday, April 9, 2012

How to Make a Bed for AG Mini Dolls

Mini dolls have become a hot commodity around my house lately.  I have been working on a few different projects to share.  The newest project that I have completed for the AG sized (6 inch ) mini dolls is a bed.


Items Needed: 
-box that measures around 7-8 inches long and 3 1/2 -4 inches wide.  (My box was a macaroni & cheese box.)
-a piece of cardboard that measures 6 inches tall and 4 1/2 -5 inches wide/
-hot glue gun or craft glue (remember to ask for a parent's help/permission if using hot glue.)
-duck tape
-scissors
-scrap paper/newspaper for filler

Getting to Work:
Step 1:  Fill your box with the paper that you are using for stuffing/filler for the bed.
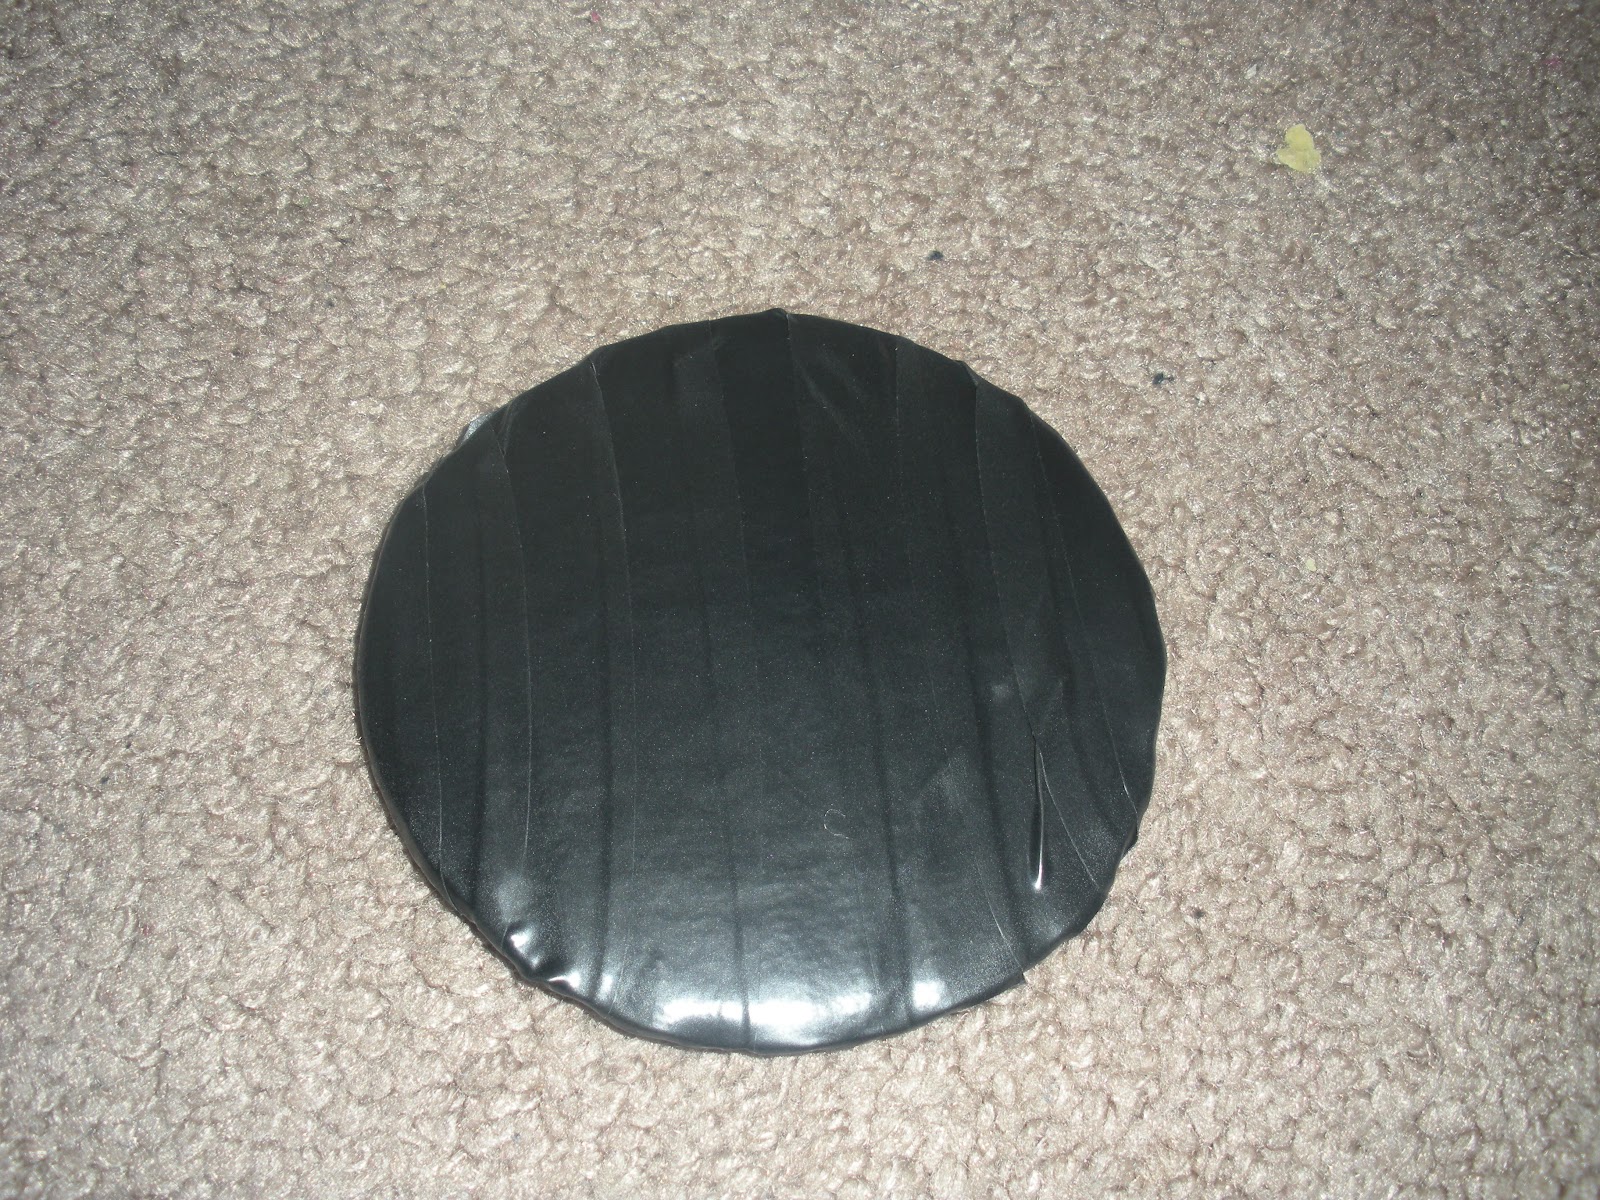
Step 2:  Glue the open end of the box closed.  Wrap the entire box in duck tape.  I did about two layers so that the words on the box were no longer visible.
Step 3:  Cut the cardboard piece to the measurements listed above.
Step 4:  Cover the piece of cardboard with duck tape.
Step 5:  Glue the Cardboard piece onto the box to create the headboard for the bed.
Goodnight Molly!

Tomorrow I will have a post on how to make simple bedding for your mini doll's bed!

Saturday, April 7, 2012

Happy Easter!

Happy Easter!  Rebecca, Ivy, Addy, Paige, and Bitty Baby "#2" celebrated by having an Easter egg hunt.  Check out the pictures!

The "little girls" started the egg hunt first. 

Bitty Baby was very good hunting for eggs but Paige needed a little help so Rebecca came over.
Paige finally started finding some more eggs.
Then Addy decided she wanted to hunt for eggs as well.  "Just because I am nine doesn't mean I don't like to have fun too!" she said.  Bitty Baby just laughed.
Ivy and Rebecca joined the egg hunt too.  "I found one!" yelled Ivy.
"Awesome!  I love orange!" said Addy.
Rebecca really wanted this yellow egg.
 

 After the egg hunt, the little girls wanted to check inside their eggs.  Fun!
Then the whole group posed for an Easter picture.  So cute!

 I would love to see picture of your dolls' Easter fun.  Email them to Kristi@leasekristis@yahoo.com.


Wednesday, April 4, 2012

Easy Dollie Easter Bonnet Craft

Today I have an easy craft that little kiddos and grown-ups alike can enjoy!  We will be making a Dollie Easter Bonnet using items you probably have around the house.  The best part is, you can make this craft as simple or elaborate as you would like.  It is all up to you, be creative!


Items Needed: 
-Small -Medium sized paper bowl.  Use your judgement based on how big your doll's head is.
-Poster paint or markers
-Stickers or other embellishments
-Ribbon
-Scissors
-Craft glue or hot glue gun (Please have a parent's permission if you are using a hot glue gun.)


Getting to Work:

Step 1:  Paint (or color) your bowl the color of your choice.  This will be your doll's bonnet.  Allow to dry completely if painted.  (I painted my bowl in the morning yesterday.  It took all day yesterday and overnight to be completely dry.)

Step 2:  Glue embellishments (or use stickers) onto your hat.  I used flowers.  Some other suggestions:  butterflies, bows, glitter, buttons, ribbon.


Step 3: Use hot glue or use craft glue to attach the ribbon to the inside of the bonnet(bowl.)  Allow the glue to dry completely before placing the bonnet on you doll's head.

Step 4:  Place the bonnet on your doll's head and tie a bow below her chin.

Now Paige is ready for Easter!  She has her Easter basket shown in this POST and a pretty Easter bonnet to wear with her new dress.

Please feel free to leave comments!

Monday, April 2, 2012

Easy Dollar Store Doll Easter Basket

With Easter fast approaching, I have been working on getting all my girls' their Easter goodies ready.  I also bought a couple items at the Dollar Store to use to make the dolls their own Easter baskets.  In the picture above, Bitty Twin Paige just received her basket a little early.
I found all the items I needed for the baskets (and more) at the Dollar Tree which is our local dollar store.  The baskets are a perfect size for the dolls and the mini eggs are just right too. The yellow grass is just regular paper Easter grass.
Put all the items together, and you have an adorable little Easter basket for your dolls!

Saturday, March 31, 2012

Taking Orders for Re-purposed Custom Couches


As you may know, I make a lot of doll furniture using recycled and re-purposed materials.  I believe in reusing items and the good impact it has on our planet to do so.  One of the main furniture pieces I make for dolls is the couch.  My couches fit dolls that are 14-18inches.  Normally, each couch can sit two dolls. 
Blue Couch

I am currently taking orders for these couches for North American residents.  The couches are $15.00 each plus standard shipping.  If you are interested in ordering a doll couch please email me at leasekristis@yahoo.com with the subject line COUCH.  You can specify the color(s) that you would like the couch to be.  If you would like a particular print, please let me know, and I will confirm if I have the print available for your couch.

Payment is to be made through PayPal within 48 hours of my invoice confirmation.  I will give you my PayPal information in an email after you place your order.  I will need your address in the initial email so that I am able to calculate shipping cost as well as ship the couch to you once it is made.
Below are some additional pictures of couches that I have made.

A couch that I sent to Karen Mom of Three was featured on her Maplelea Blog.  Maplelea Salia(18 inch) is lounging on the couch.
And Karen's son even got in on the couch playtime using his stuffed animals!  So cute!
Cheetah Print Couch
Black Zebra Print Couch

Purple Couch
Starry Purple Couch


Molly (18 inch) and Aliesha (slim 18 inch) sitting on the Blue couch.
The couches can be used as seating with tables also!  The dolls are the Purple couch are 18 inch and slim 18 inch.  The dolls on the Blue couch are 14-16 inches.
Madame Alexander 18 inch and American Girl 18 inch both fit on the couch together.

The Cheetah Print couch set-up in our dolls' living area.


My Sewing Adventures

I recently got a sewing machine which I have been slowly trying to get used to using.  I spent most of the afternoon today making clothing for my daughters' dolls out re-purposed clothing.  I am not quite ready to use clothing patterns yet and am trying to learn about clothing structure from re-purposing old clothing.  Below are pictures of the projects I completed today.

Emily and Molly are wearing knee socks made from two socks that I no longer had a match for.  I found the tutorial on Karen Mom of Three's Blog.  Click HERE to see it.
A close up of the knee socks.
My youngest daughter LOVES princesses.  We had this old dress that she would just not part with.  I decided to give it a little makeover so that her dolls' could wear it now.  It is a 12 month sized dress.
Here is Molly wearing the dress above after I cut and sewed it to fit her better.  It is still too long but there was no way I was going to risk possibly cutting off any of the princess.  I may make an adjustment at the waist line later tonight to bring the length up....but that we have to be after my daughter goes to sleep so that I can get the doll back.  =)
This was a 3 month sized infant skirt that I found at a thrift store a long time ago.
Here Kanani is wearing the skirt above.  It has built in bloomers which made this a little tricky but it was easier to keep them than cut them out.  I used Kanani for measurements to mark how much smaller to make the skirt.and then cut the whole skirt down the middle in the back.  I sewed the bloomers back together first and then sewed the skirt part back together.  The shirt is a newborn size baby shirt.  Although it is a little loose, I do not plan to make any adjustments to it.
I forgot to take a before picture but this dress was made from one of my youngest daughter's peasant type shirts that she has out grown (size 18-24 months.)  Again, I used the doll, Olivia from Springfield Dolls, to help me measure how much the shirt needed to come in to fit her.  I first cut the sleeves off of the shirt.  Then I cut the extra material off of the back of the dress and then sewed the bottom half (up to her waist) back together. 
I left the elastic band at the waist un-sewn and used velcro to close the back of the dress at the waist.  The top of the dress is a halter style.  I cut the top of the dress right beside Olivia's arms but left the collar attached so that I could use it to velcro together the back of the dress at the top.
I used one of the sleeves from the peasant shirt the dress is made from above to make "Veronica" another pair of pants.
Close up of the pants.

 I really want to sew a few more clothing items this weekend as well as a sleeping bag for one of the dolls (not sure which doll yet.)  Hopefully, I will squeeze it in along with the furniture I am making and an Easter egg hunt for my girls.  Please feel free to leave comments!


Thursday, March 29, 2012

How to Make a Table and Chair Set for American Girl Mini Dolls

The American Girl Mini dolls are very cute.  My daughters have a few and usually they are just used as decoration in their doll rooms.  However, my littlest daughter loves her mini Molly and her mini Madame Alexander doll Laurien (which is a little larger than the American Girl mini dolls) and plays with them quite a lot.  This got me thinking about making mini doll furniture.  I figured I would start off with an easy project and see where it takes me from there.  The first mini doll furniture project I have completed is making a table and chair set.  Above, mini Samantha is sitting at the table I made.  Follow the steps below to make your own mini doll table and chair set!

How to Make a Mini Doll Table and Chair Set (6" dolls)

Items Needed: 
-2 empty toilet paper rolls
-2 medium plastic cups
-cardboard
-duck tape (of your choice of print or color)
-electrical tape
-Hot glue gun
-scrap fabric
-scrap tissue paper filler or stuffing
-scissors
-pen or pencil
-mini doll to use for size measurements

Getting to Work:
Step 1:  Hold your mini doll up to the toilet paper roll and draw lines on the roll to mark where the doll's bottom hits the roll and on the outside sides of her arms.  Repeat with the second toilet paper roll. 
Step 2:  Cut the toilet paper rolls at the side marks starting from the top of the roll and stopping at the mark for where the doll will sit.  Leave the back of the toilet paper roll intact as that serves as the chair back.  After the initial cutting, sit your doll in the chair to make sure her feet touch the "floor" or surface you are working on.  When I first cut the pieces out to make the chairs, the seat area was a little too high after placing the doll on it so I made adjustments by cutting the seat a little lower to make sure the doll's feet would touch the ground.
 Step 3:  Cover both chairs in your choice of duck tape.
Step 4:  Cut the tops off of both plastic cups (cut into the cup about half of an inch down.)  Place the cup ring into the opening of the chair and cut off the extra piece (where the ring overlaps.)  Tape the two ends of the ring together using electrical tape.  Repeat with the other cup ring.  This will make the top of the chairs' seat to wrap the fabric over in the next step.
Step 5:  Squeeze hot glue onto the upper part of the cup ring.  Wrap the piece of scrap fabric over and around the cup ring.  Gather the fabric in the center of the under side of the cup ring and use hot glue to attach.  Repeat with the second cup ring and fabric.  This creates the seat cushions. 
 Step 6:  Push the seat cushion (fabric covered ring) into the seat area of the chair.  Use hot glue to secure the seat cushion to the inside of the chair.  Repeat with second chair.
Step 7:  Trace the bottom of the plastic cup onto cardboard and cut out the circle.  Cover the circle with electrical tape.  Repeat for other chair.  This will be the bottom base of the chair.
Step 8:  Fill the inside of the seat of the chair with scrap tissue paper or pillow stuffing.  Use a hot glue gun to attach the base made in Step 7 to the bottom of the chair.  Repeat with second chair.  Once the glue is dry, wrap a strip of electrical tape around the base and bottom of the chairs.
Side view of Samantha sitting on the chair.

Moving onto the Table:

Step 1:  Use the two cups that the tops were cut off previously while make the chairs.  Hot glue the to cups together, one inside the other and stuff the cups with the scrap tissue paper.  This serves as the base of the table.

Step 2:  Trace the duck tape roll onto cardboard, cut out the circle and cover in electrical tape.  This becomes the top of the table.
Step 3:  Cover the cup base of the table with duck tape and use hot glue to attach the top of the table to the base.  Allow to dry.

Now you have a complete table and chair set to use when you play with your mini dolls!  Stay tuned for future posts on more mini doll furniture!  Please feel free to leave me a comment or share this link with others!