
Here is our part of Pennsylvania, we have been having quite a bit of rain this spring. I decided that is was time to get to work on some "Rain Boots" for the dolls! Splish Splash!
How to Make "Rain Boots" for your Doll:

Items Needed:
-Cardboard
-2 pieces of circle shaped craft foam and one piece of square craft foam
-Duck Tape
-Hot glue gun (with parent permission) or craft glue
-Scissors
-Pencil
-Doll to use as a guide
Getting to Work:

Step 1: Trace your doll's feet onto thick cardboard using a pencil (be careful not to mark your doll--you may need parent help.) Cut out the shapes you traced.

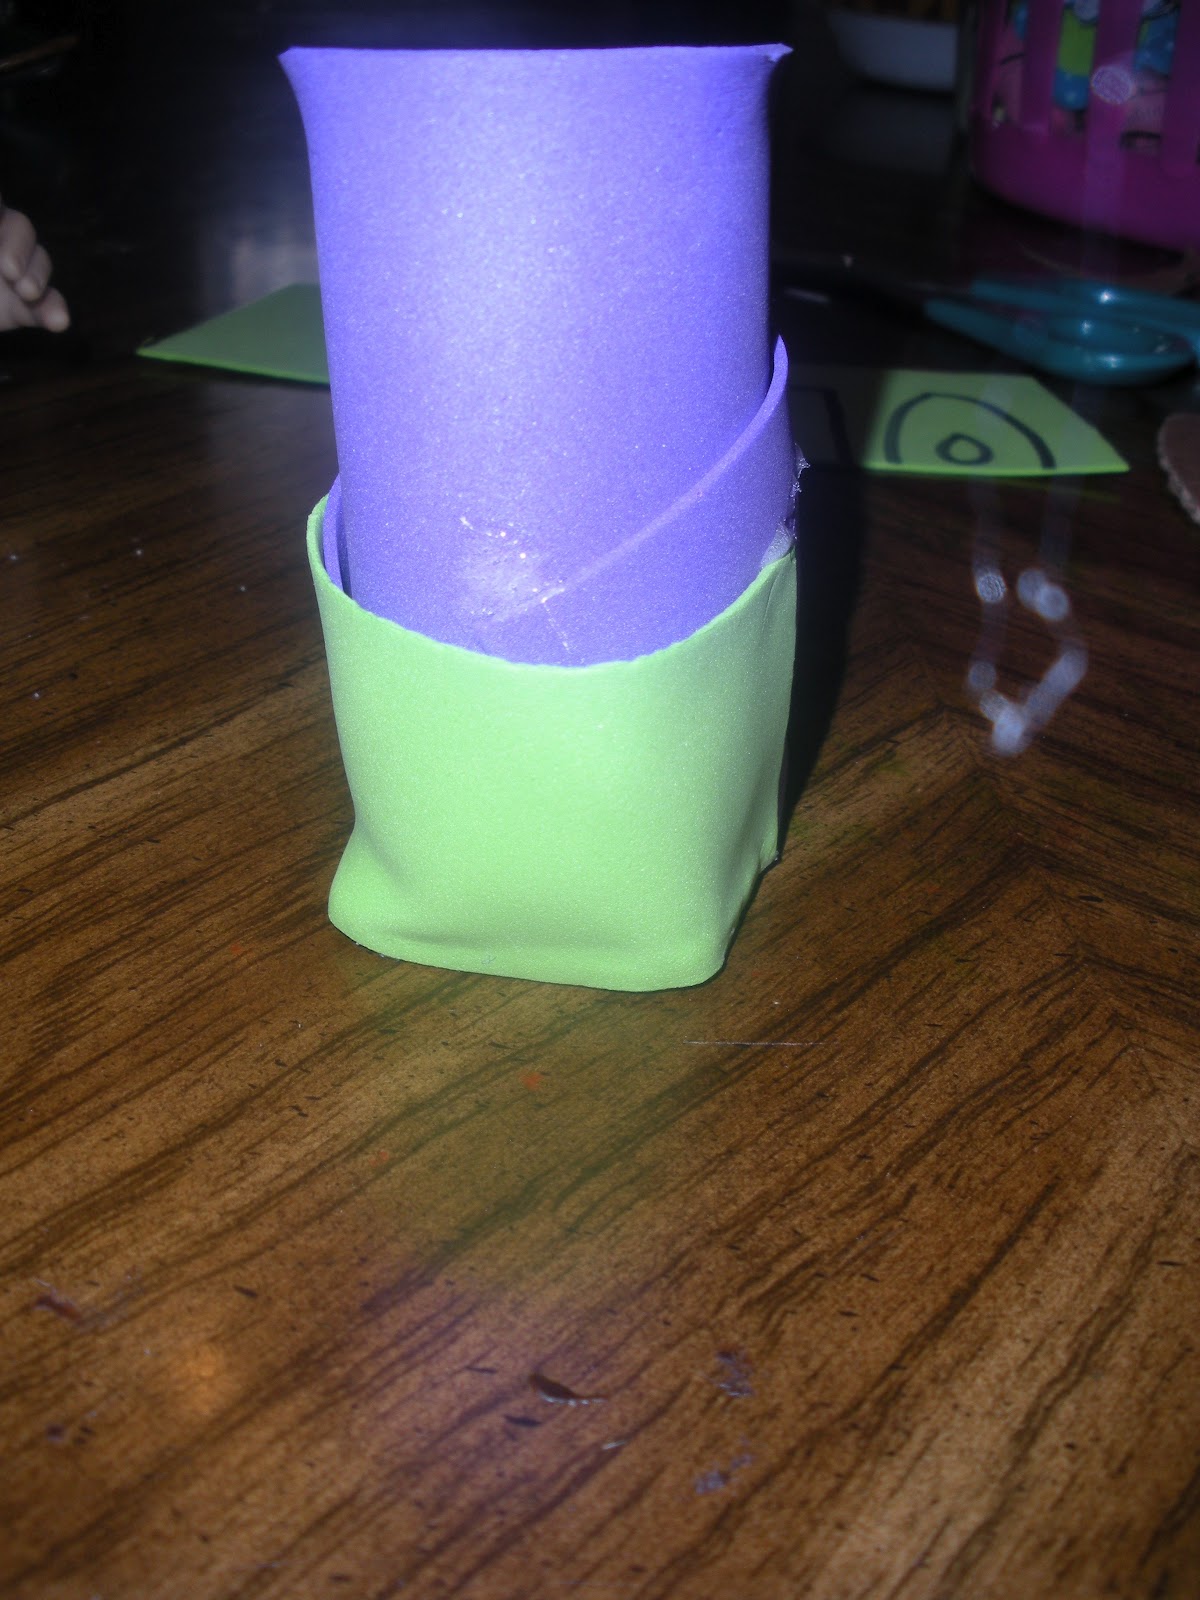
Step 2: Cut the circle shaped craft foam in half and wrap the craft foam around your doll's leg( from the top of her fott to about an inch below her knee.) Glue the edges together to form a tube shape. Repeat with other leg.


Step 3: Use the other half of the circle shaped craft foam to create the foot area of the boot. Glue the straight edge of the second foam piece to the tube shape where the tube shape forms the upside down "V." Repeat with other piece.

Step 4: Glue the bottom of the foam around the front and sides of the boot form to the corresponding piece of cardboard from Step 1. The back of the foam form may not touch the cardboard. Repeat.
Step 5: Use glue to attach the rectangular piece of foam to the back of the foam boot and back of the cardboard form. This will cover any open areas between the back of the boot and the back of the cardboard. Repeat with other boot.


Right: Foam boot form on the doll's leg.
Left: Foam boot forms without duck tape covering.


Step 6: Use duck tape to cover the foam boots to create the "plastic-like" look of rain boots. Start at the top of the boot and wrap one pattern or color of duck tape about an inch and a half to two inches down from the top of the boot. Use a second color to wrap around the bottom section of the boot making sure to also cover the cardboard piece of the bottom of the boots.

Step 7: Cut a slit in the back of each boot at the top to make the boots easier to put on and take off your doll.
 |
| Finished "Rain Boots" on Emily. |
I am planning to follow up with an umbrella and possibly a rain coat to complete this "Rainy Springtime Outfit" soon!
No comments:
Post a Comment