
How to Make a Mini Doll Table and Chair Set (6" dolls)

-2 empty toilet paper rolls
-2 medium plastic cups
-cardboard
-duck tape (of your choice of print or color)
-electrical tape
-Hot glue gun
-scrap fabric
-scrap tissue paper filler or stuffing
-scissors
-pen or pencil
-mini doll to use for size measurements
Getting to Work:

Step 1: Hold your mini doll up to the toilet paper roll and draw lines on the roll to mark where the doll's bottom hits the roll and on the outside sides of her arms. Repeat with the second toilet paper roll.

Step 2: Cut the toilet paper rolls at the side marks starting from the top of the roll and stopping at the mark for where the doll will sit. Leave the back of the toilet paper roll intact as that serves as the chair back. After the initial cutting, sit your doll in the chair to make sure her feet touch the "floor" or surface you are working on. When I first cut the pieces out to make the chairs, the seat area was a little too high after placing the doll on it so I made adjustments by cutting the seat a little lower to make sure the doll's feet would touch the ground.

Step 3: Cover both chairs in your choice of duck tape.

Step 4: Cut the tops off of both plastic cups (cut into the cup about half of an inch down.) Place the cup ring into the opening of the chair and cut off the extra piece (where the ring overlaps.) Tape the two ends of the ring together using electrical tape. Repeat with the other cup ring. This will make the top of the chairs' seat to wrap the fabric over in the next step.

Step 5: Squeeze hot glue onto the upper part of the cup ring. Wrap the piece of scrap fabric over and around the cup ring. Gather the fabric in the center of the under side of the cup ring and use hot glue to attach. Repeat with the second cup ring and fabric. This creates the seat cushions.

Step 6: Push the seat cushion (fabric covered ring) into the seat area of the chair. Use hot glue to secure the seat cushion to the inside of the chair. Repeat with second chair.

 Step 7: Trace the bottom of the plastic cup onto cardboard and cut out the circle. Cover the circle with electrical tape. Repeat for other chair. This will be the bottom base of the chair.
Step 8: Fill the inside of the seat of the chair with scrap tissue paper or pillow stuffing. Use a hot glue gun to attach the base made in Step 7 to the bottom of the chair. Repeat with second chair. Once the glue is dry, wrap a strip of electrical tape around the base and bottom of the chairs.
 |
| Side view of Samantha sitting on the chair. |
Moving onto the Table:


Step 1: Use the two cups that the tops were cut off previously while make the chairs. Hot glue the to cups together, one inside the other and stuff the cups with the scrap tissue paper. This serves as the base of the table.

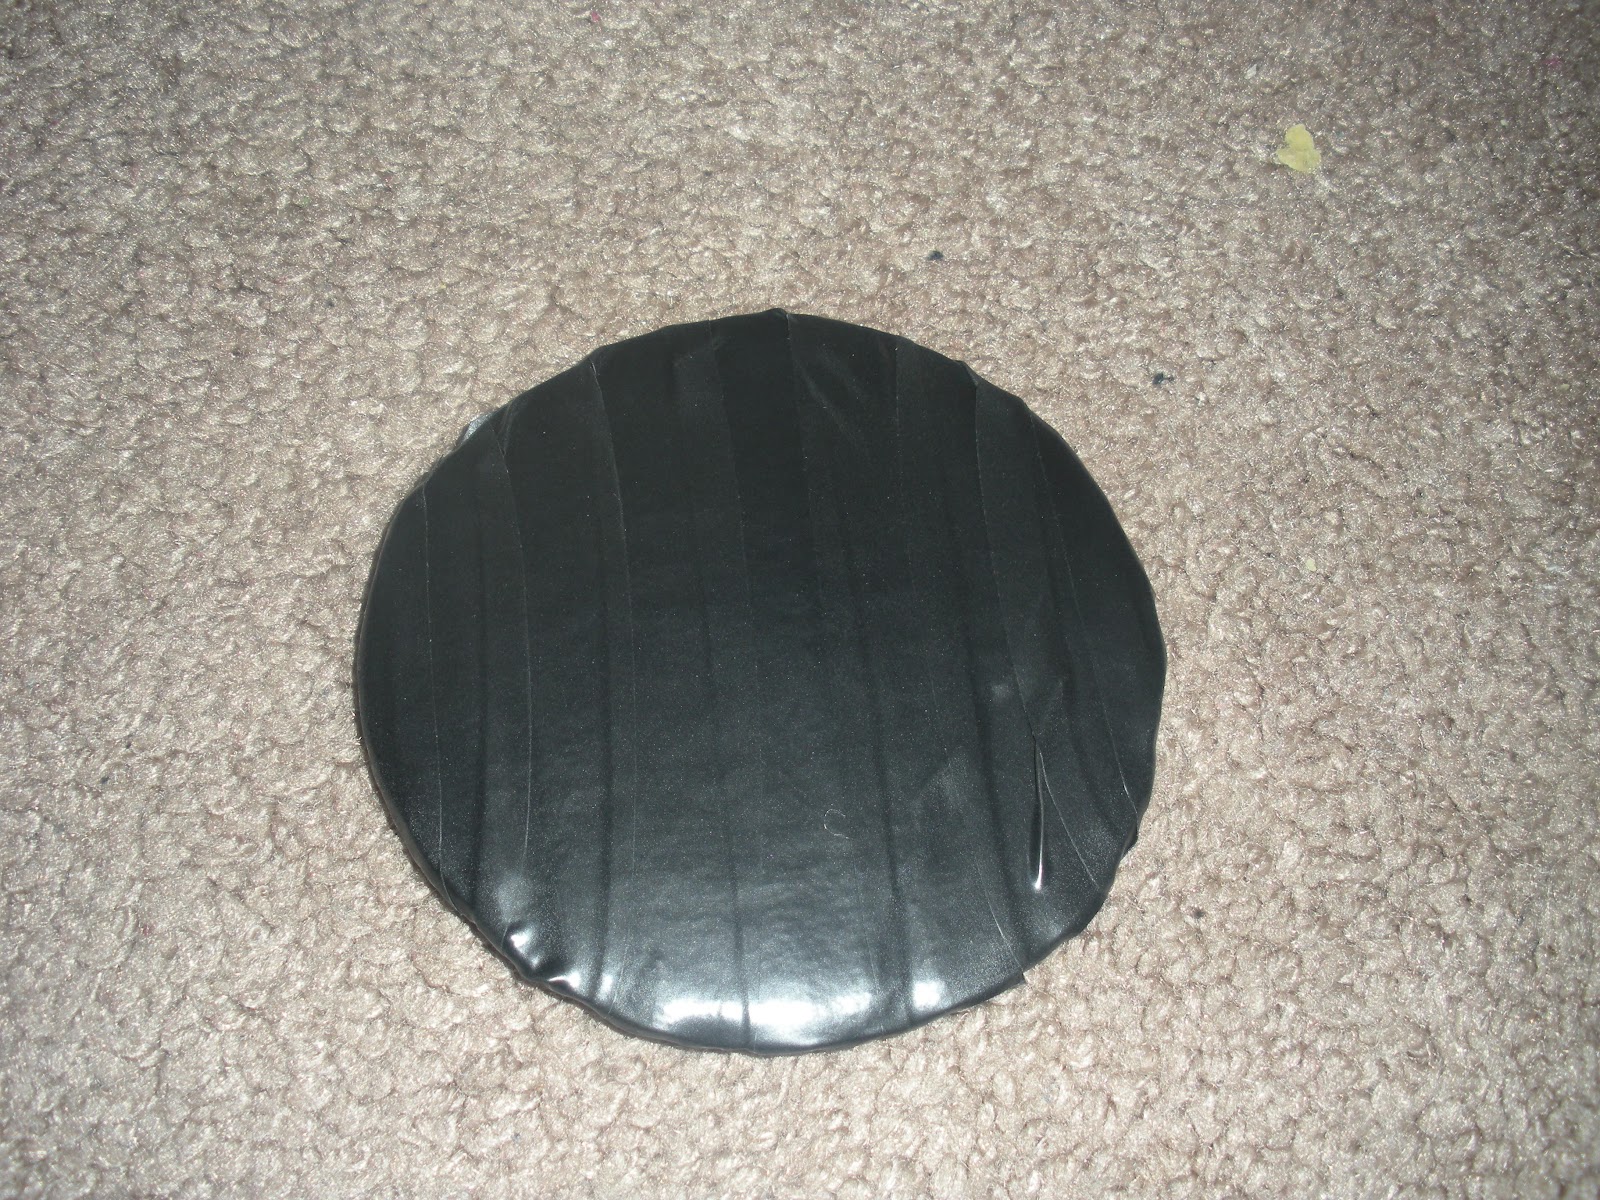
Step 2: Trace the duck tape roll onto cardboard, cut out the circle and cover in electrical tape. This becomes the top of the table.

Step 3: Cover the cup base of the table with duck tape and use hot glue to attach the top of the table to the base. Allow to dry.
Now you have a complete table and chair set to use when you play with your mini dolls! Stay tuned for future posts on more mini doll furniture! Please feel free to leave me a comment or share this link with others!

You have been nominated for the Versatile Blogger Award, you totally deserve it!
ReplyDeleteFun craft!
ReplyDeleteThank you! The mini dolls are fun to work with.
ReplyDeletei do stuff with my doll to love u.
DeleteIm thinking that an oatmeal container might work for the larger dolls. What do you think?
ReplyDeleteGreat instructions!
ReplyDeleteI'm so impressed by the design that I linked to your site from my 'cardboard dollhouse' post on my own blog. http://mygoinggreenblog.blogspot.com/2012/05/how-to-make-dollhouse-from-cardboard.html
In my house, I already had furniture that was given to us as a gift, but used your basic concept for my very basic toilet seat( hope you don't mind that I downgraded the design for my use :-) ).
Anyway I hope to try out the complete, fancier design sometime too.